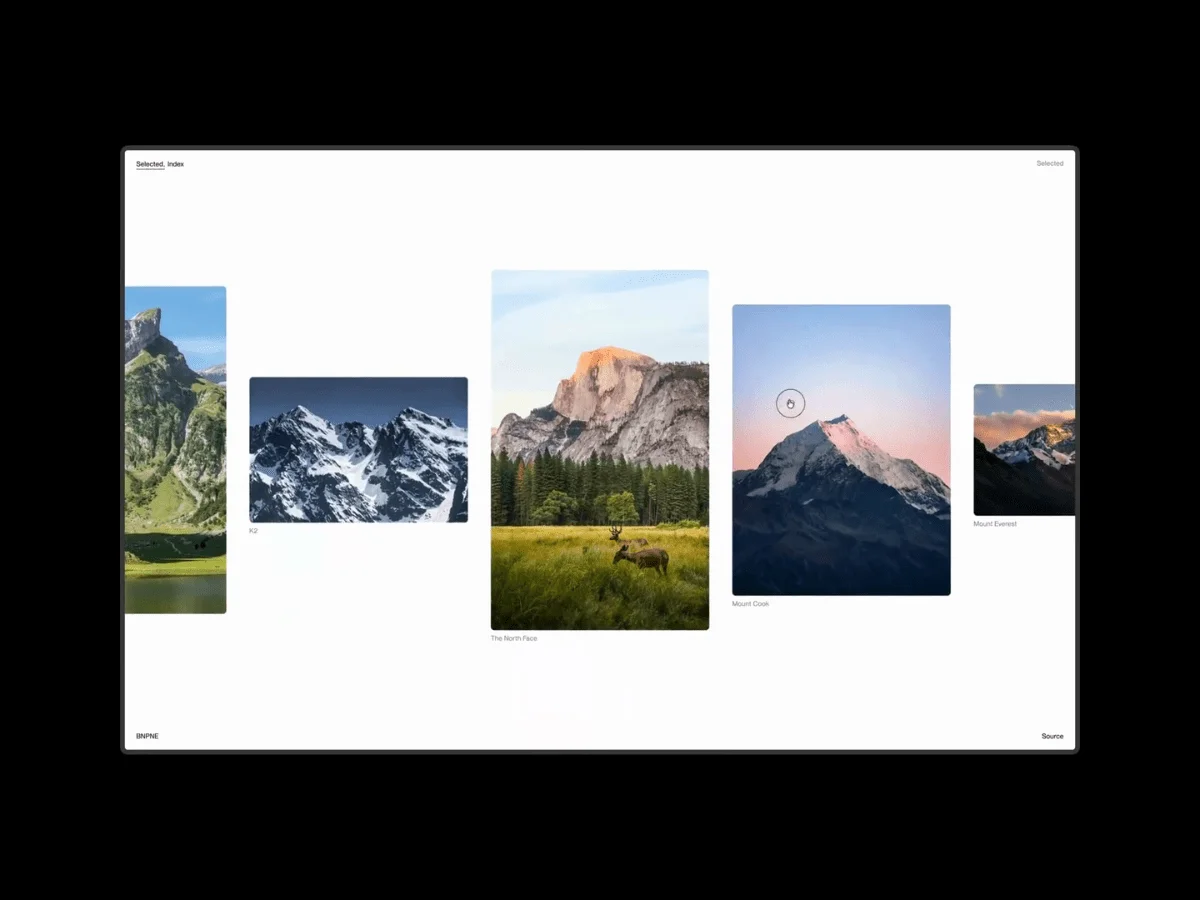
Hello, I'm Ben Paine, a creative developer and designer located in San Diego, CA. In this tutorial, we'll explore how to implement engaging page transitions using WebGPU. When executed correctly, such transitions can significantly enhance the user experience.
Why use WebGPU over WebGL? Quite simply, it helps us eliminate that jarring "pop" when the DOM state changes. By leveraging a single, continuous scene, we create the illusion of fluidity as users navigate through different pages.
This tutorial will touch briefly on the underlying logic of our WebGPU renderer and the SPA architecture. We’ll mainly focus on associating textures with DOM elements while seamlessly integrating image textures. For those who want a deeper understanding, the source code will provide further details.
1. Getting Started
To kick things off, I’ll explain the basic structure of our application and how the single-page application (SPA) operates. Getting a grasp on the client routing is crucial for understanding the transitions we're creating, so I'll keep this high-level and concise.
In our architecture, we work with two layers: a DOM layer and a Canvas layer. If you’ve dealt with WebGL or GPU programming, this setup should look familiar. The DOM layer features image “slots”, while the Canvas layer maintains a single scene filled with all the necessary image planes. Importantly, these image planes remain persistent across the website and stay linked to their corresponding DOM slots, created only once during the app's initialization and controlled based on visibility.
Each image plane has associated bounds expressed in CSS pixels, which utilize getBoundingClientRect(). At any given time, these bounds belong to one of two categories:
- DOM Tracking: The plane actively points to a DOM element and updates every frame.
- Manual Control: The plane is no longer tracked by the DOM, allowing custom bounds adjustments during transitions.
Understanding these mechanics helps us manage transitions effectively: we detach planes from DOM tracking, animate their properties, then reattach them to the new page's slots.
a. Render Loop
The entry point for this process is found in src/index.js. We establish a render loop using requestAnimationFrame, wherein all page image textures are preloaded at startup. This setup prevents any latency when switching between pages.
b. Pages
In our implementation, each page is a function returning a string of HTML to keep it concise. For example, here’s how we define the main “Selected” page:
// pages/home.js
export function home() {
  const slots = [0, 1, 2, 3, 4]
    .map(
      (i) => `<a href="/<span class="katex"><span class="katex-mathml"><math xmlns="http://www.w3.org/1998/Math/MathML"><semantics><mrow><mrow><mi>i</mi><mo>+</mo><mn>1</mn></mrow><mi mathvariant="normal">"</mi><mi>d</mi><mi>a</mi><mi>t</mi><mi>a</mi><mo>−</mo><mi>l</mi><mi>i</mi><mi>n</mi><mi>k</mi><mi>c</mi><mi>l</mi><mi>a</mi><mi>s</mi><mi>s</mi><mo>=</mo><mi mathvariant="normal">"</mi><mi>s</mi><mi>l</mi><mi>o</mi><mi>t</mi><mi>s</mi><li class="slot slot-slit" data-link></annotation></semantics></math></span><span class="katex-html" aria-hidden="true"><span class="base"><span class="strut" style="height:0.7778em;vertical-align:-0.0833em;"></span><span class="mord"><span class="mord mathnormal">i</span><span class="mspace" style="margin-right:0.2222em;"></span><span class="mbin">+</span><span class="mspace" style="margin-right:0.2222em;"></span><span class="mord">></span>>
      </section>`;
    )
    .join('');

    return `
    <section data-page="main" class="page page-main">
      <h1 class="page-title">Selected</h1>
      <div class="carousel">${slots}</div>
    </section>
  `;
}
Key points to remember:
- The
<figure>holds an empty space as a slot for images, while the actual visuals are rendered on a separate WebGPU plane. data-pagehelps the router categorize the page type, such asmainorinner, ensuring that transitions pivot on these categories rather than exact URLs.data-linkacts as a trigger for the router, intercepting standard clicks to prevent full page reloads.
Every inner page follows the same logic. It returns a structure of slots, ensuring we maintain a consistent approach across the application.
In conjunction, another function assesses these slots during transitions to pinpoint where an image plane should transition. It leverages the DOM to retrieve spatial information:
// pages/home.js
export function getMainTargets(rootEl) {
  const slots = rootEl.querySelectorAll('.slot');
  return Array.from(slots, (s) => {
    const r = s.getBoundingClientRect();
    return { x: r.left, y: r.top, w: r.width, h: r.height };
  });
}
This approach ensures synchronization: rather than hardcoding coordinates, we let CSS dictate layout, and getBoundingClientRect() captures the current positioning for our animations. Adjusting the CSS won’t disrupt the transitions.
c. The Router
Central to our navigation is a class called Controller, performing two primary functions: intercepting navigation events and executing transitions.
First, we define the routing table:
const ROUTES = {
  '/':      { page: 'main',  view: home,      image: null },
  '/index': { page: 'index', view: indexPage, image: null },
  '/1':     { page: 'inner', view: inner(0),  image: 0 },
  '/2':     { page: 'inner', view: inner(1),  image: 1 },
  // ...through /5
};
Each entry comprises a page category, a corresponding view function, and a foreground image index. Notice how multiple routes share the same page category, which allows our transitions to focus on the type of page rather than the specific URL.
To manage click events, a single listener is attached to the document:
onClick(e) {
  const a = e.target.closest('a[data-link]');
  if (!a) return;
  e.preventDefault();                    // stop the full page reload
  this.navigate(a.getAttribute('href'));
}

onPopState() {
  this.navigate(window.location.pathname, 'back');  // back/forward button
}- Employing one global listener minimizes overhead by automatically covering dynamically injected content.
- Using
preventDefault()allows us to transform regular links into SPA navigations, keeping hyperlinks functional for users. - The
popstateevent enables the back and forward button functionalities, maintaining a cohesive user experience.
This setup effectively separates navigation from actual transition execution, allowing us to manage routing more efficiently.
2. Page Transitions
This segment is where we put previous information to work. The groundwork laid earlier prepares us for the mechanics of transitions.
Keep, Remove, Add
It’s essential to understand that image planes aren’t recreated or destroyed during transitions. Instead, each plane performs one of three actions during these transitions:
- Keep: The image persists on both pages, so we animate it: transitioning its bounds from the old to the new location.
- Remove: The image is scheduled to exit. We simply fade it out, keeping the plane in reserve for future use.
- Add: For new images, we position them directly at their destination with an instant bounds setup and fade them in from invisibility.
// transitions/constants.js
export function tweenBounds(plane, target, opts = {}) {
  return gsap.to(plane.bounds, { x: target.x, y: target.y, w: target.w, h: target.h, /* ... */ });
}

export function tweenOpacity(plane, to, opts = {}) {
  return gsap.to(plane, { opacity: to, /* ... */ });
}
There you have it: tweenBounds corresponds to the “keep and move” action. Meanwhile, tweenOpacity handles either removing or adding images. All transitions are crafted through just these two functions.
A transition is comprised of out() and in()
Each transition is encapsulated within a dedicated class featuring two asynchronous methods:
class SomeTransition {
  async out(fromEl, toEl, ctx) { /* the planes that exist on the FROM page */ }
  async in(fromEl, toEl, ctx)  { /* the planes that are new to the TO page */ }
}
Typically, the out method manages planes exiting while in handles incoming ones. Both methods can run simultaneously, creating the illusion of a fluid transition rather than a disjointed old-to-new switch.
As an example, here’s how the transition from the main page to an inner page operates: when a user clicks on an image, we fly that hero into the corresponding position while fading out the others:
// transitions/mainToInner.js
export class MainToInnerTransition {
  async out(_from, toEl, ctx) {
    const { gpu, toImage } = ctx;
    const innerRects = getInnerTargets(toEl);   // measure the destination slots
    const target = innerRects[0];               // slot 0 = the hero position
    const tweens = [];
    for (let i = 0; i < MAIN_COUNT; i++) {
      const plane = gpu.planes[mainIdx(i)];
      if (i === toImage) {
        tweens.push(tweenBounds(plane, target));  // KEEP: fly the hero into place
      } else {
        tweens.push(tweenOpacity(plane, 0));      // REMOVE: fade the others out
      }
    }
    await Promise.all(tweens);
  }

  async in(_from, toEl, ctx) {
    const { gpu, toImage } = ctx;
    const innerRects = getInnerTargets(toEl);
    const fades = [];
    for (let j = 0; j < SATELLITES_PER_IMAGE; j++) {
      const sat = gpu.planes[satIdx(toImage, j)];
      sat.bounds = { ...innerRects[j + 1] };      // ADD: stamp at its target
      sat.opacity = 0;
      fades.push(tweenOpacity(sat, 1, { delay: 0.25 + j * 0.08 }));  // ...then fade in, staggered
    }
    await Promise.all(fades);
  }
}
This example highlights our three roles: we keep and morph one plane, fade out four others, and introduce four new planes. Nothing is ever created or destroyed throughout the process, maintaining seamless transitions.
The one key trick that makes it work
Here’s the kicker, and it’s pivotal for the entire setup:
Typically, a plane stays synchronized with its DOM slot, with the render loop constantly updating its position. But during a transition, if I want to animate those bounds, the render loop would overwrite my tweaks with its updates, rendering any animations moot.
Thus, the first action taken by the controller when transitioning out is to disconnect every plane from the DOM, releasing their bounds:
_leavePage(state) {
  // ...stop the carousel, clear tilt, etc...
  for (const plane of this.gpu.planes) {
    plane.trackedEl = null;   // ★ hand the bounds over to the tweens
  }
}
Clearing trackedEl prevents any DOM updates from interfering with my animations, allowing GSAP to control the bounds during the transition. Once complete, the planes are reassigned to their original slots, and tracking resumes as if nothing happened. The result? A smooth, natural transition from one page to another.