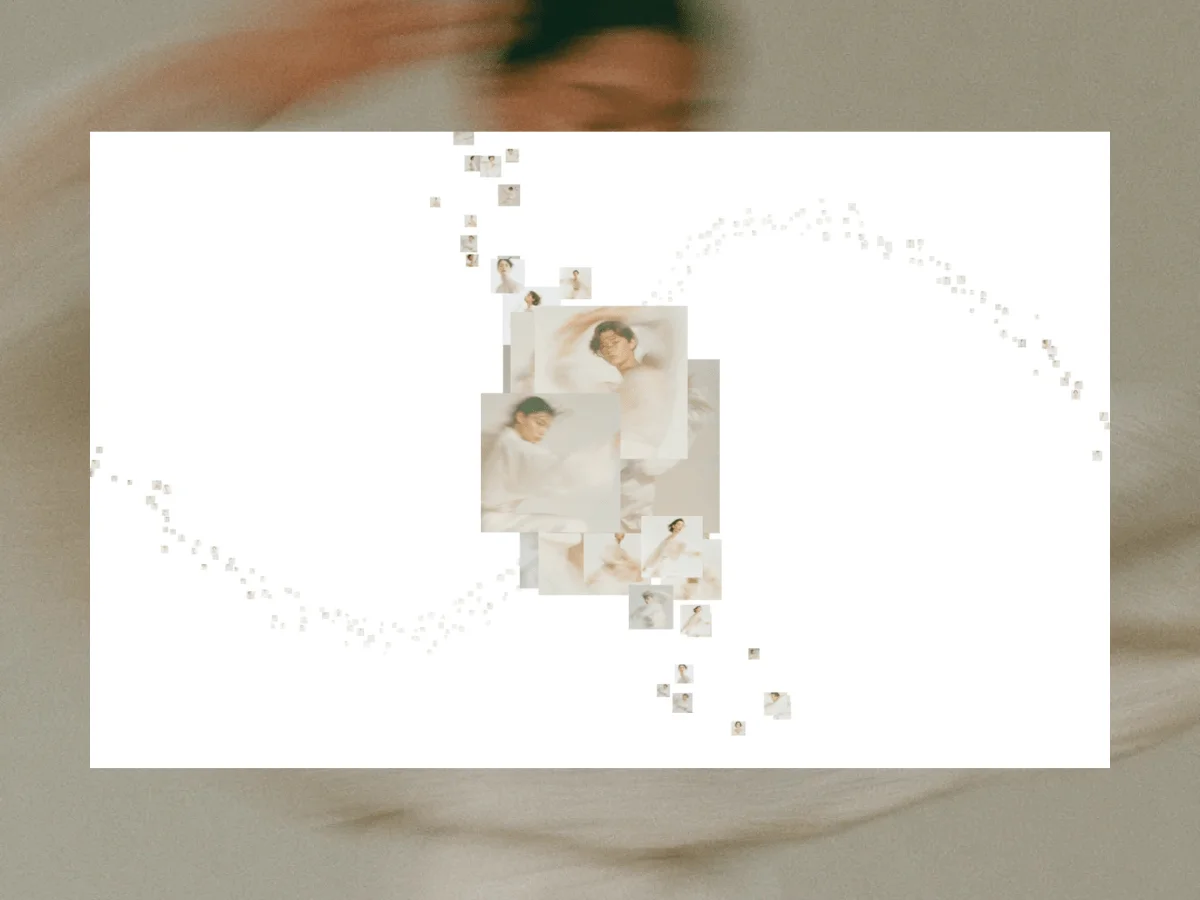
In this guide, we’ll create a dynamic 3D gallery that conforms to a path designed in Blender. The gallery's images will be strategically placed along a curve, while the camera glides through the environment, responding to user scroll actions. As images approach the camera’s viewpoint, they will enlarge, creating a focus effect, while others remain at rest in the background.
The intended outcome resembles a fluid camera dolly shot. Each scroll moves the camera incrementally along its planned trajectory, fostering the sensation of navigating through a three-dimensional realm.
To accomplish this, we’ll deploy three main tools:
- Blender: to design and export the camera path.
- Three.js: to build the path within a 3D context and render the scene.
- GSAP: to control the camera movements and ensure smooth image transitions.
Our inspiration stems from a remarkable digital piece produced by the creative studio BAXSTUDIO.
1. Crafting and Exporting the Camera Path in Blender
The journey begins in Blender, where we’ll create the curve for the camera’s path.
Start by inserting a curve (Add → Curve → Bezier), then switch to Edit Mode to modify its shape. The design of this curve is pivotal; whether it’s spiral, wavy, or sharply angled, each shape will provide a distinct experience. This creative choice is fundamental to our project.
Once satisfied with your design, export it as a JSON file for reconstruction within Three.js.
Exporting the Curve
Navigate to Blender’s Scripting workspace, create a new script (Scripting → New), and insert this Python code:
import bpy
import json

obj = bpy.context.active_object
depsgraph = bpy.context.evaluated_depsgraph_get()
obj_eval = obj.evaluated_get(depsgraph)

mesh = obj_eval.to_mesh()

points = []
for v in mesh.vertices:
    co = obj.matrix_world @ v.co
    points.append([round(co.x, 3), round(co.z, 3), round(-co.y, 3)])

obj_eval.to_mesh_clear()

path = "/your/path/path1.json"
with open(path, "w") as f:
    json.dump(points, f)

print("export completed")
One line in the script deserves special attention:
points.append([round(co.x, 3), round(co.z, 3), round(-co.y, 3)])It's essential to recognize the different coordinate systems that Blender and Three.js utilize. While Blender has the Z axis aligned upward, Three.js employs the Y axis for vertical positioning. If we were to export the coordinates directly, the curve would be misaligned, leading to an erroneous camera movement through the gallery.
The following remapping adjusts Blender’s coordinates for compatibility with Three.js:
X→XZ→YY→-Z(the negative sign maintains proper orientation)
After the export, select the curve and run the script to create a JSON file that includes sampled points:
[[-27.559, 0.0, -0.0], [-27.56, 0.02, -0.022], [-27.56, 0.04, -0.044], ...]Store the exported file in public/paths/path1.json. In the subsequent section, we’ll load this file into Three.js to recreate the curve.
2. Configuring the Scene and Reconstructing the Curve
Having exported the curve, it’s time to bring it to life in Three.js and initiate our scene.
Establishing the Scene
We’ll begin by creating the scene renderer, the environment, and the camera:
const renderer = new THREE.WebGLRenderer({ antialias: true })
renderer.setPixelRatio(Math.min(window.devicePixelRatio, 2))
renderer.setSize(window.innerWidth, window.innerHeight)
document.getElementById('canvas-container').appendChild(renderer.domElement)

const scene = new THREE.Scene()
scene.background = new THREE.Color(0xffffff)
scene.fog = new THREE.Fog(0xffffff, 10, 40)
The fog isn't a mandatory feature, but it accentuates depth perception by subtly fading distant visuals into the backdrop.
Defining Scene Parameters
Next, we’ll set the parameters that will govern the scene:
const SCALE = 16 // Blender units multiplied by 16 for scene consistency
const TEX_VARIANTS = 12 // Count of images stored in /img folder
const textureLoader = new THREE.TextureLoader()
const textures = loadTextureVariants(TEX_VARIANTS, textureLoader)

const TOTAL = 500 // Overall number of planes along the curve
const CAM_Z = 10 // Z-axis camera offset
const FOCUS_DIST = 5.5 // Distance where scaling begins
const MAX_SCALE = 14 // The upper limit for scaling
const Z_GATE = 11 // Filters out distant planes to enhance performance

const LATERAL_OFFSET_RANGE = [-1, 1]
const DEPTH_OFFSET_RANGE = [-0.75, 0.75]
const SIZE_RANGE = [0.18, 0.4]
In the following steps, we will load the exported JSON and reconstruct the curve using THREE.CatmullRomCurve3:
function toScaledVector3([x, y, z], scale) {
  return new THREE.Vector3(x * scale, y * scale, z * scale)
}

function buildCurve(raw) {
  const points = raw.map(p => toScaledVector3(p, SCALE))
  return new THREE.CatmullRomCurve3(points, true, 'catmullrom', 0.5)
}
The THREE.CatmullRomCurve3 function accepts an array of THREE.Vector3 points, creating a smooth curve that traverses through each specified point. Key parameters include:
true- closes the curve, enabling a continuous loop for the camera.'catmullrom'- chooses the curve's interpolation method, ensuring smooth passing through all points.0.5- adjusts the curve's tension, controlling the bend between points.
The exported JSON will be loaded asynchronously when initiating the application:
async function init() {
  const raw = await fetch('/paths/path1.json').then(r => r.json())
  const curve = buildCurve(raw)
Retrieving the Curve Data
To accurately position objects along the curve, we need the specific location and direction at any point along its path. This can be achieved using a utility function:
function getCurveFrame(curve, t) {
  const pos = curve.getPoint(t)
  const tangent = curve.getTangent(t)
  return { pos, nx: -tangent.y, ny: tangent.x }
}
The t variable, which ranges from 0 to 1, symbolizes progress along our curve. The method curve.getPoint(t) provides the specific position as a THREE.Vector3, while curve.getTangent(t) offers the directional flow of the curve.
To scatter the planes alongside the path effectively, we also have to determine a vector that’s perpendicular to the tangent. This normal, computed by shifting the tangent 90° within the XY plane, allows planes to track the curve's bends rather than remaining fixed along a single world axis.
3. Positioning Planes Along the Curve
With the curve defined, we can start filling the scene. We’ll generate 500 image planes, arrange them uniformly along the path, and randomly assign textures to each one.
Texture Management
Initially, we’ll load all texture variants:
const textureLoader = new THREE.TextureLoader()
const textures = loadTextureVariants(TEX_VARIANTS, textureLoader)

function loadTextureVariants(count, loader) {
  return Array.from({ length: count }, (_, i) => loader.load(`/img/picture${i + 1}.webp`))
}
By loading all textures once during startup, we can utilize them across all 500 planes without generating new textures each time. Each plane randomly selects a texture from this pool, which minimizes GPU memory consumption and loading times.
Constructing and Positioning the Planes
const planes = []

for (let i = 0; i < TOTAL; i++) {
  const t = i / TOTAL // Even distribution of planes along the curve

  const { pos, nx, ny } = getCurveFrame(curve, t) // Determine position and local normal

  // Apply random offsets for a natural distribution of objects
  const lateralOffset = randomBetween(...LATERAL_OFFSET_RANGE)
  const depthOffset = randomBetween(...DEPTH_OFFSET_RANGE)
  const size = randomBetween(...SIZE_RANGE)

  const mesh = new THREE.Mesh(
    new THREE.PlaneGeometry(size, size),
    new THREE.MeshBasicMaterial({
      map: textures[Math.floor(Math.random() * TEX_VARIANTS)], // Randomly assign texture
      side: THREE.DoubleSide,
    })
  )

  mesh.position.set(
    pos.x + nx * lateralOffset, // Lateral offset in the XY plane
    pos.y + ny * lateralOffset, // Lateral offset in the XY plane
    pos.z + depthOffset // Depth offset
  )

  mesh.userData.t = t
  mesh.userData.lateralOffset = lateralOffset
  mesh.userData.depthOffset = depthOffset
  mesh.userData.setScale = createScaleAnimator(mesh) // Attach GSAP animator for smooth scaling

  planes.push(mesh)
  scene.add(mesh)
}
These planes are not placed haphazardly along the curve; their initial positioning relies on t = i / TOTAL, ensuring systematic distribution from start to finish. Random elements are incorporated only for lateral and depth offsets, in addition to size, creating an organic layout without noticeable gaps or clumping.
Using the curve’s local normal (nx, ny) keeps plane distribution perpendicular to the path, preserving natural alignment through all curve bends.
Establishing the Scale Animator
Each plane is assigned a dedicated scaling animator, built utilizing gsap.quickTo():
function createScaleAnimator(mesh) {
  const proxy = { value: 1 }
  return gsap.quickTo(proxy, 'value', {
    duration: 0.4,
    ease: 'power3.out',
    onUpdate: () => mesh.scale.setScalar(proxy.value),
  })
}
The gsap.quickTo() function provides a reusable mechanism to adjust properties to specified values. This design prevents the overhead of creating a new tween during every scaling event, facilitating smooth transitions for each plane without overloading system resources.
The proxy serves as an intermediary value for GSAP’s animation. As updates occur, we copy proxy.value to the mesh’s scale using mesh.scale.setScalar(). This setup ensures that our animation logic is decoupled from the Three.js object while attaining seamless scaling.
4. Scroll-Responsive Camera Movement
Once the scene is established, all that remains is to animate the camera. Rather than handling it in absolute world coordinates, we’ll have it traverse along the curve based on user scroll input.
Concept Overview
The camera’s position is tracked by a single variable, t, ranging from 0 at the start of the curve to 1, facilitating a continuous loop given the closed nature of the curve.
Instead of altering t directly in response to scroll actions, we maintain two separate variables:
targetT: updated immediately with every scroll.camProxy.t: a smoothed variant oftargetT, animated with GSAP.
This approach allows for immediate camera response to user input while curtailing abrupt movements through the scene.
const camProxy = { t: 0 }
const setCamT = gsap.quickTo(camProxy, 't', { duration: 1, ease: 'power3.out' })

let targetT = 0
const SENSITIVITY = 1 / (window.innerHeight * 4)
SENSITIVITY determines how much camera movement corresponds to a scroll action. Modulating by window.innerHeight ensures uniform interaction across different display sizes, allowing a full viewport scroll to yield consistent camera movement irrespective of the device.
Utilizing GSAP Observer for Scroll Input
We’ll implement GSAP’s Observer plugin to capture and respond to user scroll actions:
Observer.create({
  target: window,
  type: 'wheel,touch,pointer',
  onChange: (self) => {
    targetT += self.deltaY * SENSITIVITY
    setCamT(targetT)
  },
})
The Observer simplifies input handling across various devices, normalizing events such as wheel, touch, and pointer. Instead of coding distinct responses for these inputs, we receive a consistent deltaY value, streamlining our scroll logic for both desktops and touch screens alike.
Whenever input events occur, we update targetT and call setCamT(). Instead of making direct jumps, the GSAP function enables smooth transitions of camProxy.t, producing a natural camera glide along the curve.
Animating the Camera
Within the animate() loop, transforming the current camProxy.t value into a 3D position happens here: