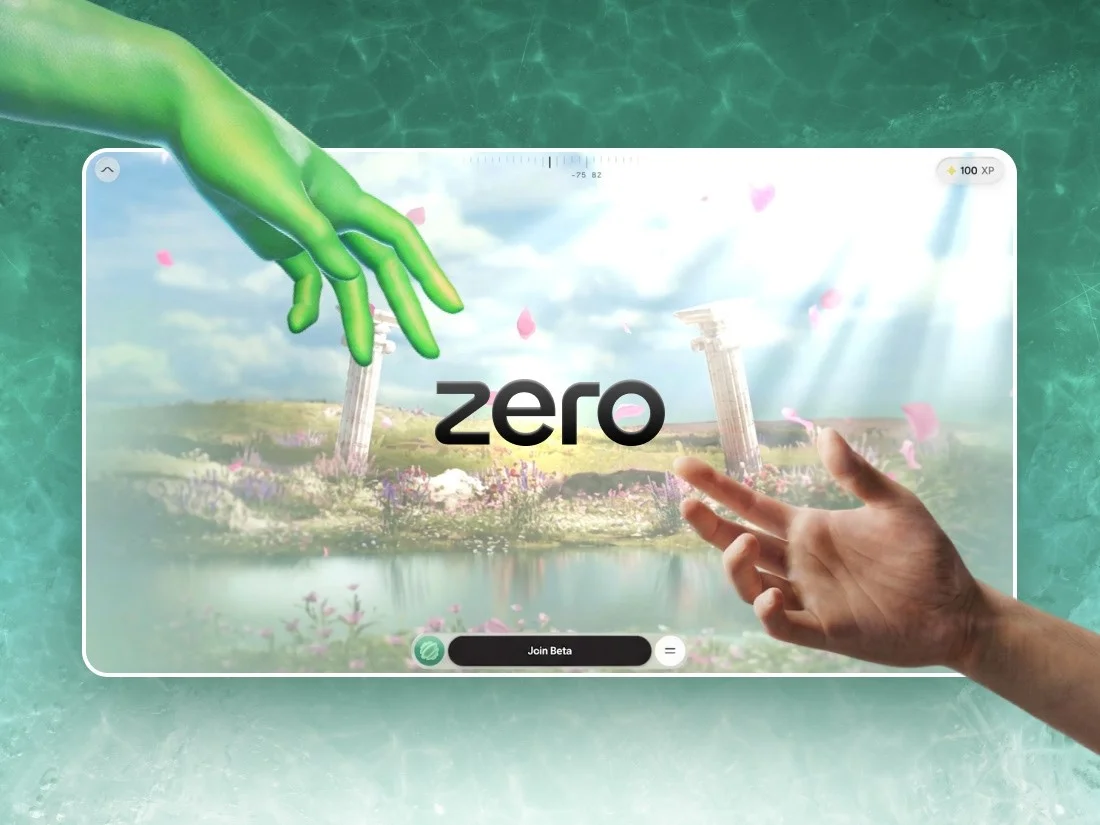
Upon visiting the site, visitors encounter a locked interface—there’s no button to click, merely an invitation to draw the numeral zero. As soon as the shape is complete, a frosty effect cascades from the line, gradually unveiling the interactive experience. This unconventional interaction isn't just a unique gimmick; it serves as an attention grabber, captivating users while rewarding user engagement right from the onset.
The simplicity of the gesture recognition process is striking. It checks only three criteria: the total signed angle drawn, the roundness of the figure, and the completion of the stroke itself. If these conditions are met, the centroid of the drawn shape triggers the frost shader, initiating the experience:
// Accept the stroke as a "zero" only if it forms a complete loop
const wound    = totalSignedAngle(points, center);   // Should be around 2π for a complete circle
const radiusCV = std(radii) / mean(radii);           // Lower value indicates roundness, not a random scribble
const closed   = dist(points[0], points.at(-1)) < meanRadius;

if (wound > 5.76 && radiusCV < 0.35 && closed) unlock();
This innovative experience transitions into a fluid, continuous scroll, guiding users from the initial loading screen into an intricately designed city map. Developed over four months using cutting-edge tools like Three.js, GSAP, Howler, and Vite, the final product compresses over a gigabyte of source material into an efficient package under 10MB, maintaining a smooth 60fps even on entry-level Android devices. This article will provide an in-depth look at the 3D production pipeline, essential tools, shader techniques, and the performance tweaks that made this project possible.
Genesis of the Project
Instead of a traditional presentation, we proposed a proof of concept that showcased our idea's potential right away. From the beginning, Atul Khola’s team presented a compelling vision: an immersive scrolling experience that challenges the conventional educational trajectory. We developed the zero-drawing interaction in just 48 hours, culminating in a functional prototype that played a significant role in winning the project. Leveraging AI allowed us to rapidly bring our initial concept to life, and we spent the remaining time fine-tuning the frost effect until it matched our vision. This proof of concept laid the groundwork for everything that followed.
AI's influence extended into our development philosophy; it transformed our workflow, reducing the hours spent building initial ideas and allowing us to focus on testing and refining instead. Through this iterative process, we experimented with various effects, like the burning money and glass shattering, honing in on the precise visual impact. Crafting the initial code felt relatively simple in comparison to the meticulous task of assessing the results and ensuring all interactions resonated as intended. The remainder of this article delves deeper into that refinement process.
Crafting the Narrative: Six Stages, Five Gates
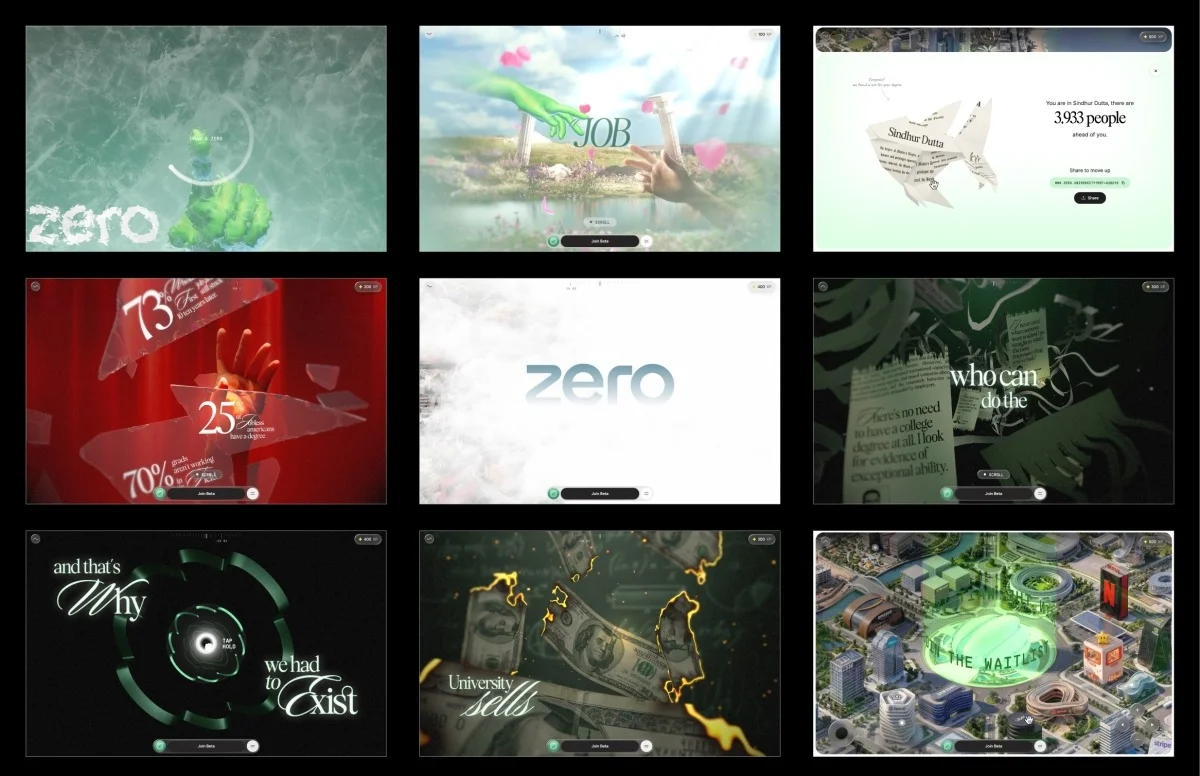
The experience unfolds across six distinct scrolling stages, connected by five interactive gates that can pause or alter the user's journey. The interactions include drawing the zero, a gesture that shatters glass, and gestures that can propel the user through a tunnel.
Concisely, the narrative presents a traditional quest: study diligently, earn good grades, and secure a position in a leading firm. However, at the first gate, this promise shatters literally and figuratively. Following that, users see stark unemployment statistics scattered amid the fractured glass. As the journey progresses to stage three, a degree becomes reduced to a mere document, as money gets burned and certificates shredded, leading into a tunnel designed to resemble the ZERO logo. In stage four, users ascend to a cloud-laden vista showcasing a city formed from the headquarters of real corporations. It culminates in stage five, where users gain control, navigating an interactive map at their own pace.
Architectural Choices: One Number to Control All
A pivotal decision in the architecture was to distance ourselves from the native scroll mechanics of browsers. By avoiding ScrollTrigger and large scrolling DOM structures, we established a virtual scrolling system where wheel and touch inputs adjust a smooth scroll value that drives the overall experience. Every aspect—asset loading, animations, shader timing, text display, and overlays—follows this single variable, streamlining control and performance.
Each stage and interaction functions as an isolated segment with its own lifecycle:
{
  scrollVh: 300,            // amount of virtual scroll owned by this segment
  enter(ctx)        { /* build this segment's Three.js objects (async) */ },
  scrub(ctx, p)     { /* p is LOCAL progress 0..1 within this segment  */ },
  update(ctx, t, dt){ /* runs every frame, regardless of scroll state */ },
  teardown(ctx)     { /* prepare to hand over to the next segment */ },
}
This structure partitions the project into nine segments, with the loader acting as the initial gate. By keeping each segment self-contained, we simplified the codebase for maintenance. This modularity greatly facilitated debugging, as users could replay the lifecycle of each segment when jumping stages, mirroring a natural scrolling progression.
Preparing 3D Assets for the Web
A significant portion of the four-month timeframe was devoted to adapting assets. Source files arrived from Blender, containing uncompressed geometry, 8K textures, baked animations, and a hefty data footprint. The first month was dedicated to determining the best format for each asset to maximize performance.
To optimize this process, we implemented DRACO compression for the geometry, utilizing self-hosted decoders. In hindsight, relying on external CDNs for decoding proved problematic when outages hindered asset decoding, despite local hosting. If your decode mechanism depends on another's server, you're leaving your pipeline vulnerable to failure.
Textures proved crucial in determining overall performance. While a compressed PNG may save disk space, once loaded into GPU memory, it occupies the full decompressed size. For instance, a 2048² texture could take up around 16MB of VRAM, regardless of the original file size. Switching to KTX2 with ETC1S compression kept textures compressed in GPU memory, significantly reducing memory use and improving upload times.
Developing a Compression Preview Tool
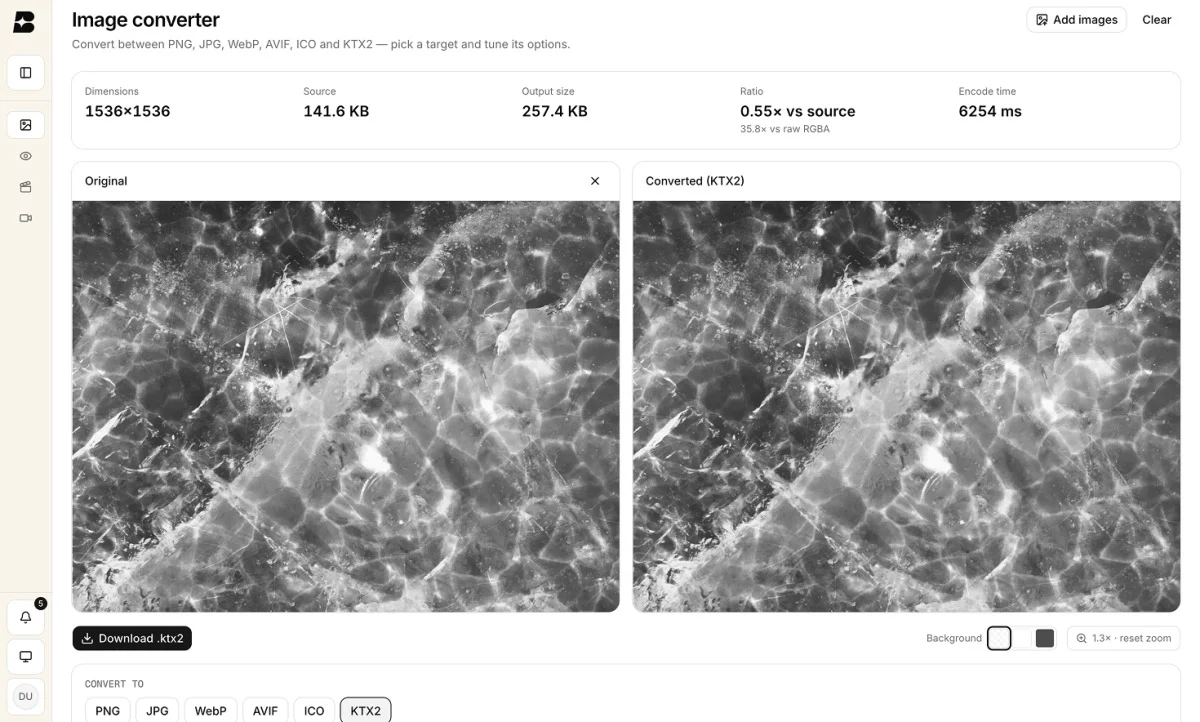
One challenge we faced was the inability to preview KTX2 textures locally, as ETC1S is a lossy format. Manually finding the right compression settings often involves trial and error, pushing us toward suboptimal quality or wasted memory.
To address this, we built a converter and previewer within our internal dashboard, allowing comparative analysis of compressed versus uncompressed images and videos. This enabled fine-tuning of ETC1S settings for each asset, applying heavier compression where acceptable and ensuring higher quality for key visuals.
Though simple in nature, this tool significantly enhanced the final project outcomes and represents a step often overlooked in WebGL workflows.
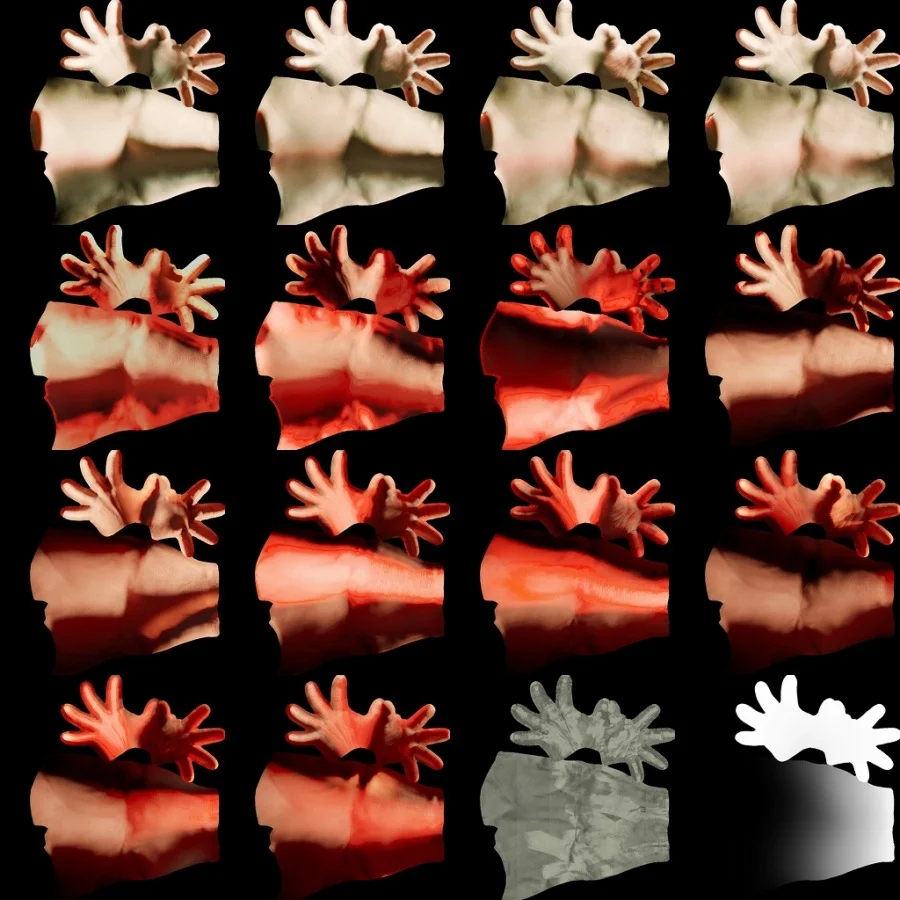
We also concentrated related textures into shared atlases—for instance, all hand textures were organized into a single 4×4 atlas, streamlining the geometry with UV offsets for reference.
This approach extended across the project; we consolidated separate atlases for text sprites, certificates, shreds of paper, clouds, coins, and glass fragments. By merging over fifty unique assets into a handful of atlases—and replacing most gradient backgrounds with minimalist GLSL code—we lowered the initial build size from 35 to 40MB to under 10MB. This allows the interactive map to load independently, enhancing the opening experience.
Avoiding Texture-Related Stutters
Reducing the download size isn't the only factor. Even compressed textures can lead to stalls in rendering if they're uploaded to the GPU on the main thread, causing noticeable delays. If a texture uploads during critical scrolling moments, the lag becomes apparent, diminishing the user experience—potentially leading to a perception of sluggish performance.
Our strategy to mitigate texture upload delays comprised three core approaches:
- Asynchronous Decoding: Implementing
createImageBitmap()to decode images off the main thread allows GPU uploads to proceed seamlessly during rendering. - Idle Time Uploads: Queued textures wait until the browser indicates idle time before attempting their uploads:
// Upload queued textures during idle periods
function drainUploads(deadline) {
  while (uploadQueue.length && deadline.timeRemaining() > 5) {
    renderer.initTexture(uploadQueue.shift()); // Initiates the GPU upload
  }
  if (uploadQueue.length) requestIdleCallback(drainUploads, { timeout: 2000 });
}- Chunked Atlas Uploads: Large textures are divided into smaller 256² tiles, uploaded frame by frame to maintain the rendering budget.
To prepare for an upcoming stage, such as after the loader or during gate transitions, we immediately flush the upload queue. This ensures all necessary textures are preloaded to the GPU ahead of time, avoiding latency in rendering.
Adaptive Quality Management
Given the variability of user devices, our renderer continually assesses its performance. It tracks frame times using a rolling average and adjusts visual quality in real time. If performance lags, it drops to a lower quality tier; if conditions improve, it scales back up while maintaining a cooldown period to prevent constant toggling between tiers:
if (avgMs > 22 && tier > LOW  && cooldownElapsed) downgrade();   // ~<45fps
else if (avgMs < 12 && tier < HIGH && cooldownElapsed) upgrade(); // ~>83fps
These quality tiers impact visual fidelity rather than the core user experience. They modulate parameters like pixel ratio, blur samples, and text resolution, thereby ensuring the narrative remains consistent across both high-end devices and more modest models. Additionally, targeted tweaks enabled temporary reductions in pixel ratio and effect complexity during certain interactions without compromising the overall experience.
Much of our final month was spent carefully profiling performance on budget Android devices. We methodically optimized frame rates, identifying and resolving spikes—culminating in a particularly problematic 157ms frame.
Shaders: Crafting Visual Effects
Constructing the Post Processing Chain
Every frame is constructed through a sequence of post processing steps:
- Render: The primary 3D scene.
- Background: Procedurally generated GLSL backgrounds in place of static assets.
- Glass Refraction: Creates a refractive layer over broken glass.
- Frost and Trail: Illustrates user gestures, extending the frost effect and melting action.
- Depth of Field: Adjusts blur quality based on the current performance tier, disabled on lower settings.
- Foreground: Adds film grain and final color grading.
- Deferred Text: Composites text after final adjustments for clarity, bypassed when text sprites aren’t visible.
- Shatter: Displays the breaking glass effect as the concluding pass.
Each visual highlight utilizes a tailored shader crafted for that specific scenario. While AI initially assisted in developing many shaders, each underwent substantial refinement to fit seamlessly into the finalized experience.
Creating the Frost Unlock Effect
The frost effect employs a unique ping pong buffer system with four passes: horizontal, vertical, and two diagonal spreads. By propagating the brightest neighboring pixels, it crafts a natural, crystalline growth pattern as the stroke expands. The spread intensity is further nuanced by the brightness of a dedicated frost texture, culminating in an intricate radial melt effect centered on the completed stroke.
// One of the axis passes → produces octagonal spread; uSpreadAxis indicates spread direction
float m    = texture2D(uPrevTrail, vUv).r;

float step = uSpreadStep * (0.4 + iceLuma * 1.2);      // Step adjusted by frost luma

for (int k = 1; k <= 2; k++) {
  m = max(m, texture2D(uPrevTrail, vUv + uSpreadAxis * step * float(k)).r * 0.92);
  m = max(m, texture2D(uPrevTrail, vUv - uSpreadAxis * step * float(k)).r * 0.92);
}

gl_FragColor.r = m;                                    // Ensures frosting progresses only
Lighting Without Traditional Sources
Real-time lighting effects on skinned meshes impose significant computational costs, especially while needing to match the original artwork precisely. Instead, we opted to bake lighting into textures, facilitating smooth transitions between them. This methodology employs dual texture slots: the incoming slot updates for keyframes and crossfades between them to create a seamless lighting effect.
// Two slots are crossfaded; the incoming slot contains the next keyframe's texture
vec4 a = texture2D(uTextureA, vUv * uTexScaleA + uTexOffsetA);
vec4 b = texture2D(uTextureB, vUv * uTexScaleB + uTexOffsetB);

a.rgb *= a.a;  b.rgb *= b.a;              // Premultiply before blending
vec4 col = mix(a, b, uProgress);         // uProgress ramps from 0 to 1 over the beat
This premultiplication strategy ensures there are no dark fringes around transparent edges, which could detract from the visual quality. Both lighting textures are included in a consolidated atlas, allowing efficient texture switching through simple UV offsets and blend factors.