Creating Visual Depth: The Technical Journey Behind Vercel's vgpu Prism
Vercel's vgpu library has emerged as a leading tool for developers aiming to create high-performance shaders for the web. After extensive internal use, Vercel prepped for an official launch, but the accompanying landing page was missing one critical visual element—a captivating hero. The team decided to evoke a familiar sight: a glass prism casting a radiant spectrum of color. This is a closer look at how that effect was achieved.
My introduction to this prism effect came at Next.js Conf 2022, a moment that left a lasting impact on me. With the task in front of me, the challenge was clear: I needed to develop a version that could match the allure of the original visual.
I began with the most direct method—simulating light physics. For every pixel represented on the wall, I traced rays back through the prism to identify if they intercepted the light source. Each ray that successfully hit contributed color to that pixel. To maintain shader efficiency, I limited the process to 16 samples per frame, applying jittering to enhance dynamism as the results built over time.
This initial approach, however, proved rife with computational intensity and lacked clarity, prompting an exploration into alternative rendering techniques. To clarify the relationships of light behavior, I utilized GPT to generate a simplification of the prism effect in SVG format:
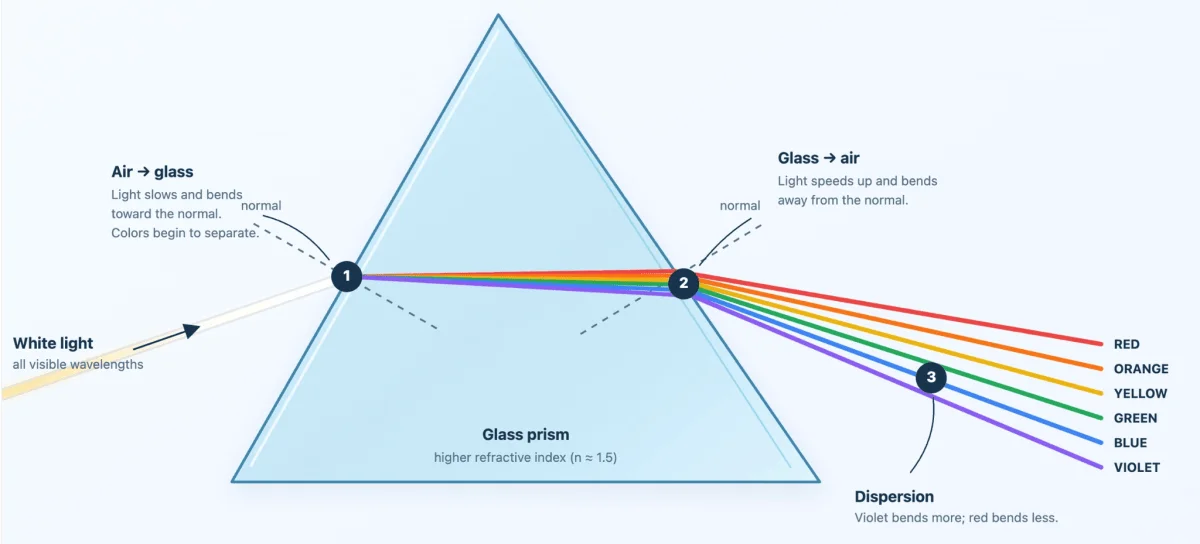
This visualization of light propagation inspired me to experiment with a 3D mesh design. A mesh consists of interconnected points forming a surface, which allowed me to depict the entire beam radiating from the prism as distinct geometric shapes.

Next, I simulated the refraction of light wavelengths entering and exiting the prism. Each wavelength bends at slightly different angles, causing a dispersion into a cone of colors, which I illustrated with lines, as seen in my wireframe output:
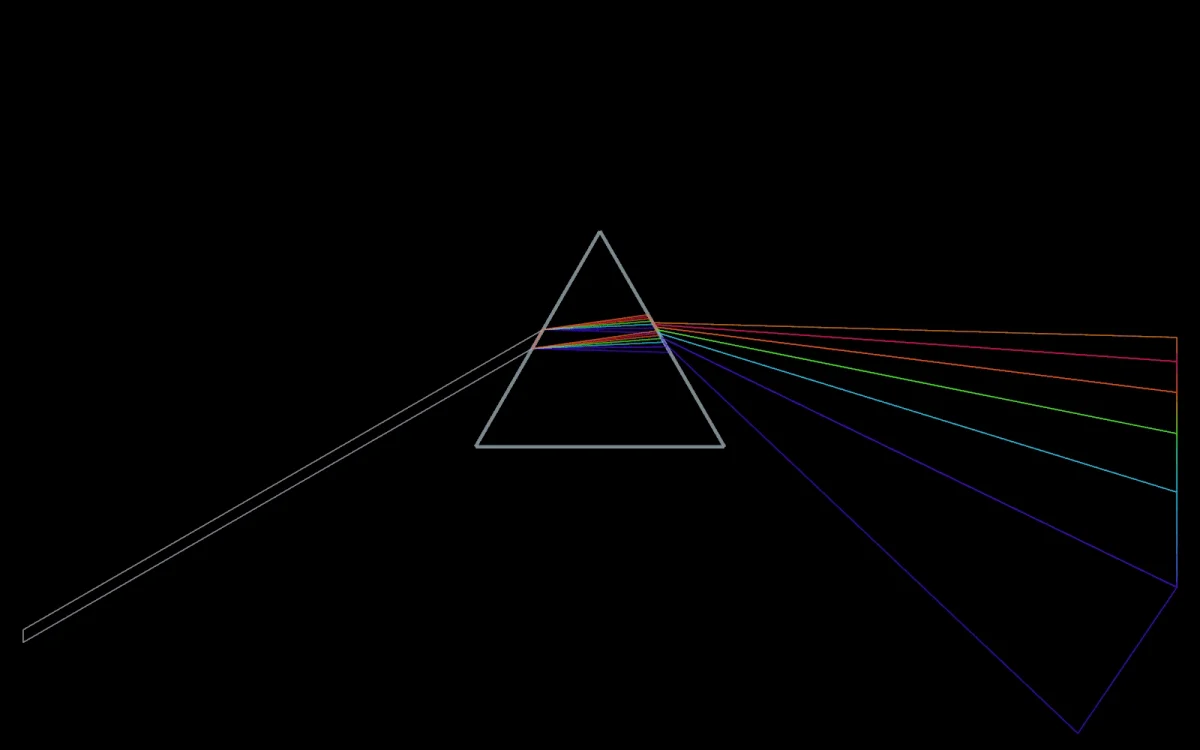
These lines provided a basis but lacked volume for shading by GPUs. I connected adjacent lines to form triangular planes on the mesh, yielding a visually smoother and computationally lighter representation.
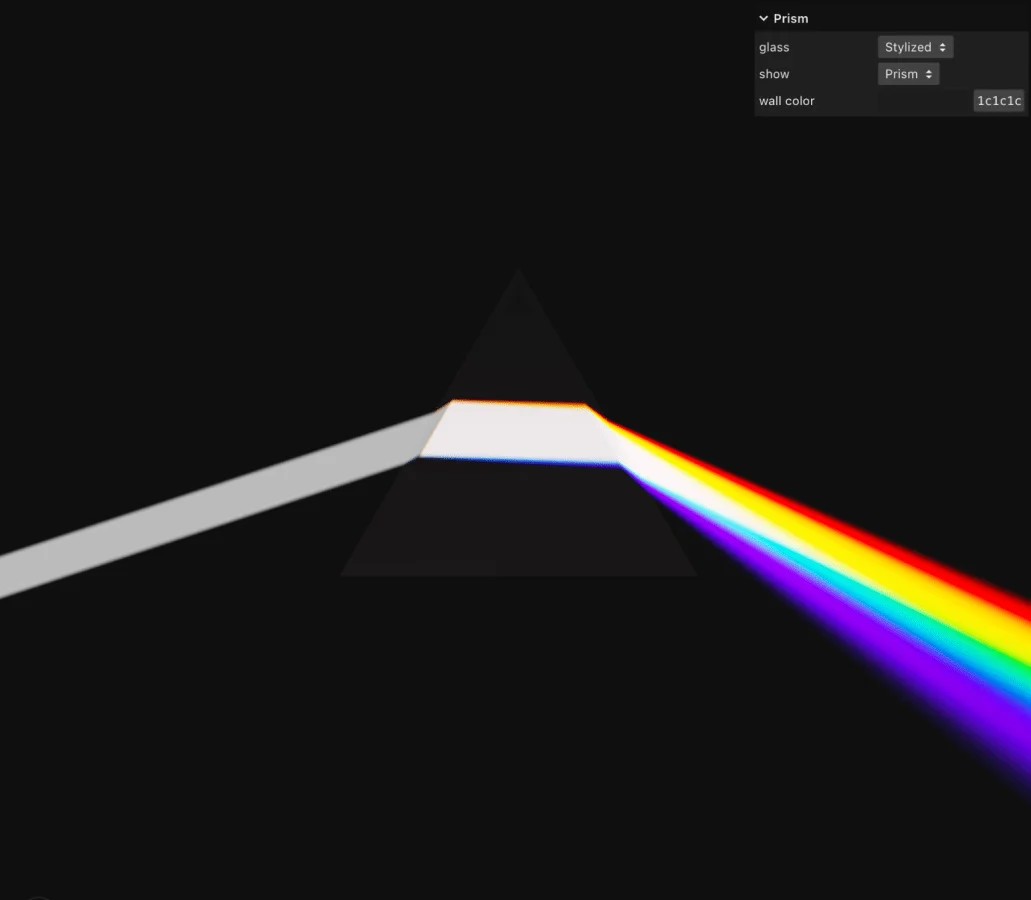
With the light mesh established, it was time to incorporate the glass shader. I had an existing shader from a previous project with eve.dev that I could modify for this effect.

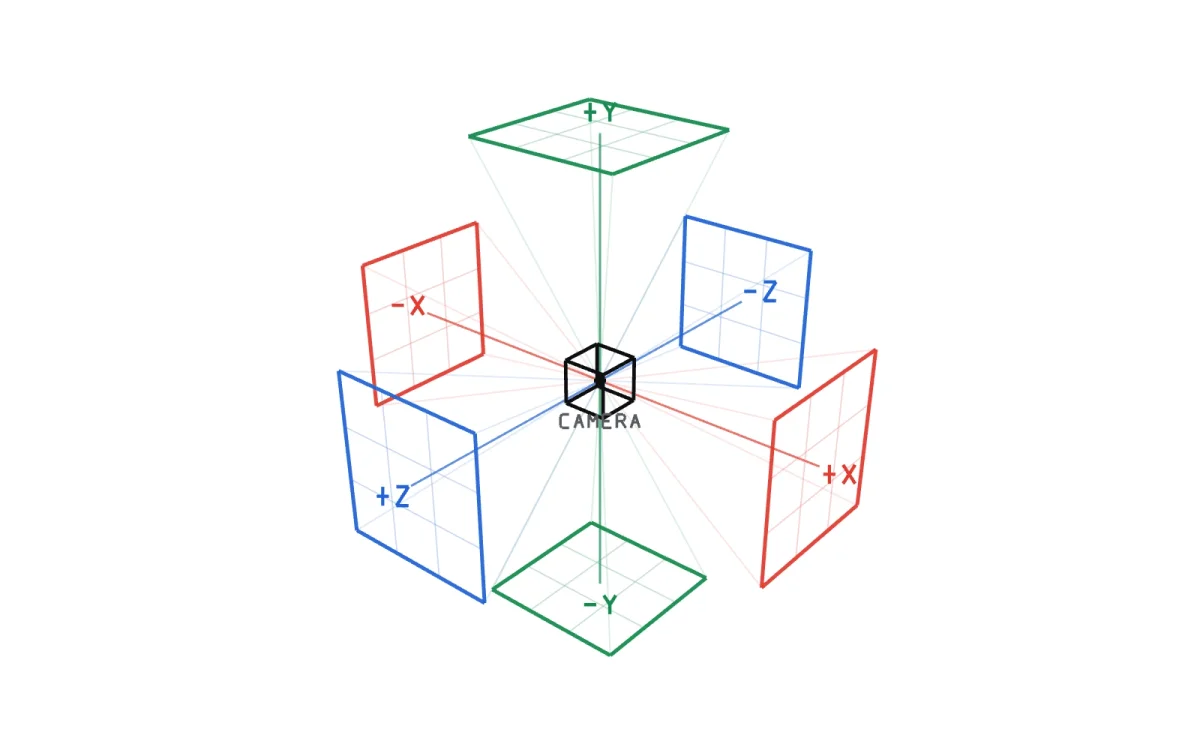
This shader employs a cubemap—created by capturing six images around a central point—to generate realistic reflections, enhancing the presence of glass in the scene.
To add depth, I included elements like bloom effects and dynamic particles, concluding my dark-mode aesthetic.
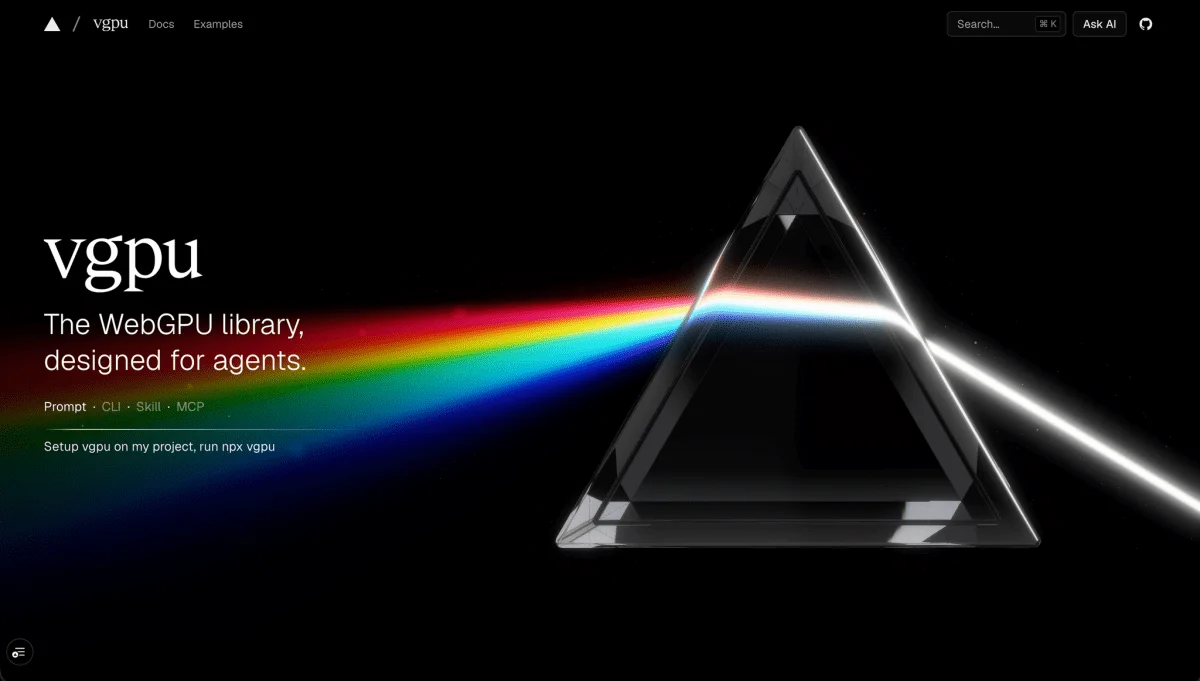
Transitioning to light mode introduced complexity, as light interacts differently against a white background. By darkening the environment slightly, I was able to create contrasts that allowed light effects to remain pronounced.
To jumpstart this process, I collaborated with GPT to visualize concepts, resulting in several AI-generated images:

Determined to bring this vision to reality, I dissected the concept image into components, calculating how to recreate each aspect—shadows cast by the prism, wall textures, and the lighting filtering through imaginary windows.
Given the composition's intricate nature, I developed a visual render pipeline to aid planning. By visualizing how elements would interact within the shader, I gained clarity on balancing these components effectively.
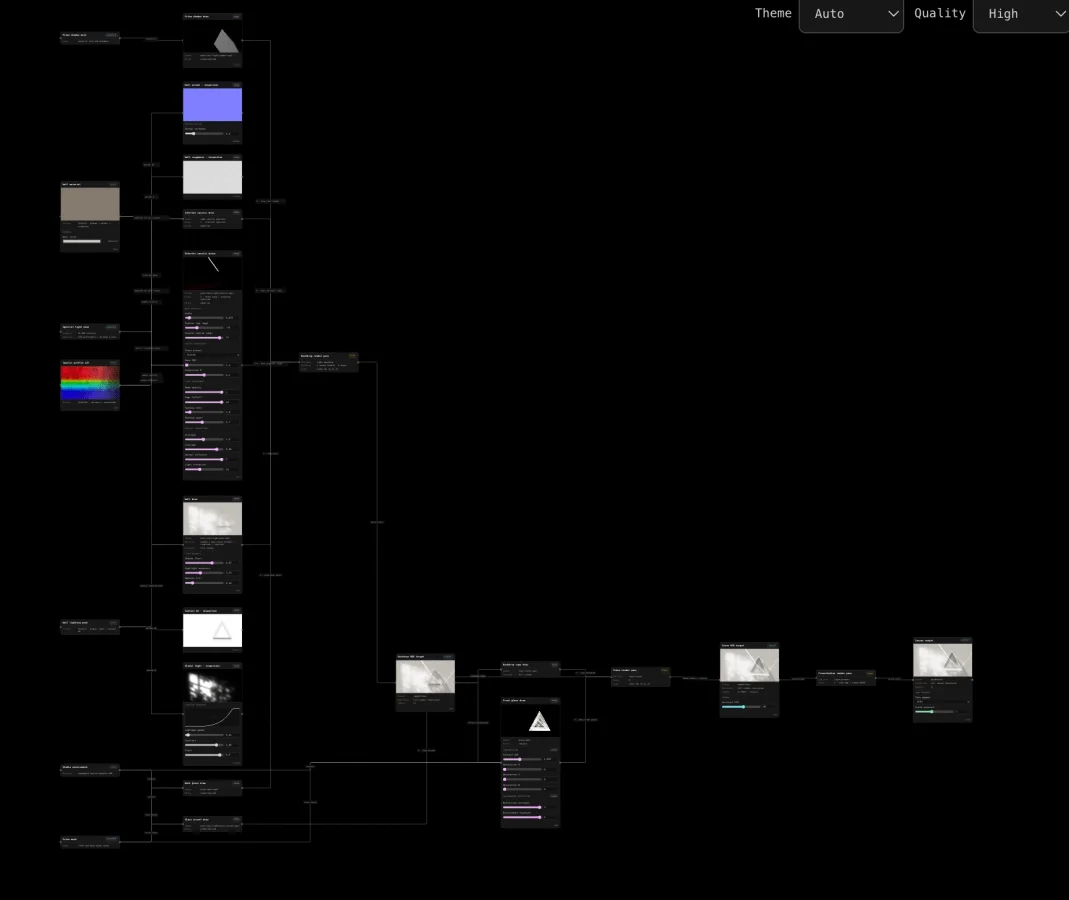
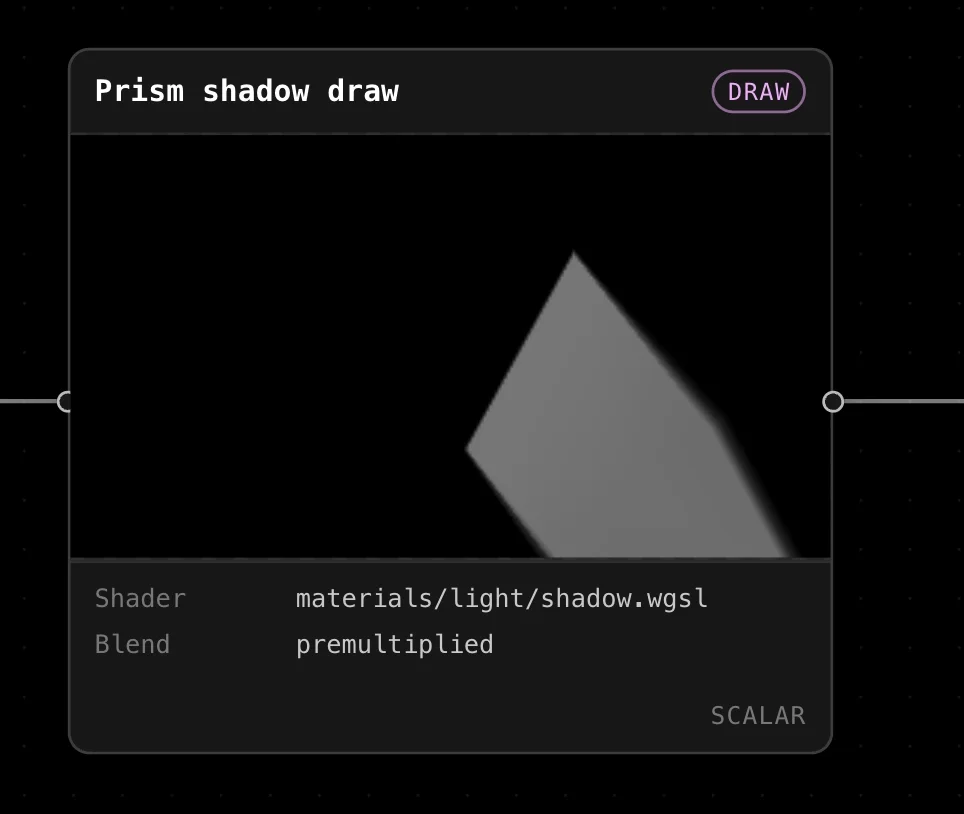
To achieve realistic shading without excessive computation, I opted to use pre-rendered textures for shadows, easing real-time rendering burdens.

Next, I tackled texturing the wall. Based on my concept images, I generated a normal map to simulate surface detail. This significantly optimized performance by rendering noise calculations just once.
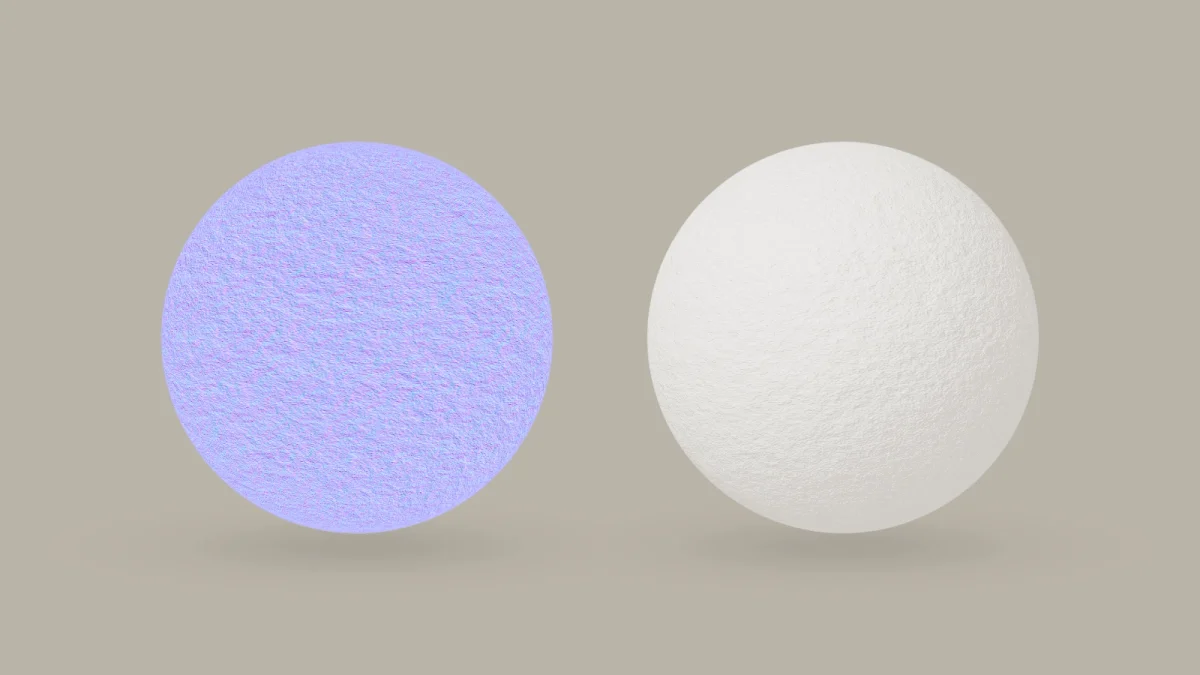
Adjustable parameters allowed me to fine-tune the strength of this normal map, enhancing overall texture fidelity.
Furthermore, I layered an AI-generated image atop the lighting layer to adjust shadow dynamics on the wall, providing further control over the interplay of light and texture.
Ultimately, these combined techniques yielded the impressive hero for Vercel's landing page.

Curious to see how it works in detail? You can explore the debug mode at https://vgpu.sh?debug where you can toggle between light/dark modes and adjust rendering quality to see the underlying graph changes.
Optimizing Across Platforms
Despite optimizations, the hero's demanding nature presented challenges on lower-end devices. To address this, I created simplified versions of the shaders. These versions operate on fewer samples and details while retaining a visually consistent appearance.
The strategy is straightforward: start with maximum quality and downgrade only as needed. Three key indicators dictate this decision:
- GPU tier: Devices with lower-tier GPUs or mobile platforms default to low-quality settings.
- Battery level: Laptops below 30% battery will shift to low quality to conserve power.
- Frame rate: If a device can’t maintain a steady frame rate, it automatically adjusts to low quality.
This adaptive approach ensures that more powerful devices can deliver the complete visual effect while maintaining smooth performance across all devices.
At the end of this creative endeavor, crafting such a hero has revealed itself as a delicate balance of performance and visual perception. Absolute realism is unnecessary; the goal is to look convincing while ensuring smooth operation.
The complete code for this hero, along with further examples, is available in the vgpu GitHub repository.